JetPack for Jetson AGX Xavier
— Jetson — 1 min read
How to install NVIDIA JetPack SDK on Jetson AGX Xavier using virtual machine on MacOS?
Some preparations are required to be done first:
- A virtual machine with Ubuntu 18.04.3 LTS (Bionic Beaver)
SDK Managerdownloaded from NVIDIA JetPack website
Next, install the SDK Manager on Ubuntu using command in terminal:
1sudo dpkg -i sdkmanager_0.9.14-4964_amd64.debIf error occurs in the step, we could fix the broken installation by running:
1sudo apt --fix-broken installNow we can start the sdkmanager by running:
1/usr/bin/sdkmanagerIt pops up a window like the following:

Before start, we need to prepare the Jetson AGX Xavier device:
- Power off the Xavier developer kit;
- Connect a mouse, keyboard and display to the Xavier developer kit;
- Connect Xavier to host machine (macbook), make sure the usb cable is connected from the
Front USB Type-C connector(according to the User Guide, only theFRONTUSB connector can be used for flashing purpose); - Configure virtual machine to allow
NVIDIA AGXUSB device to be connected toUbuntu; - If
opencvrelated libraries were already installed onUbuntu, please remove all of them;
Now we can start the Xavier developer kit in Force Recovery Mode to enable the installer to
flash system image to the Jetson device:
- Press and hold down the
Force Recovery button(the one in the middle), - Press and hold donw the
Power button - Release both buttons
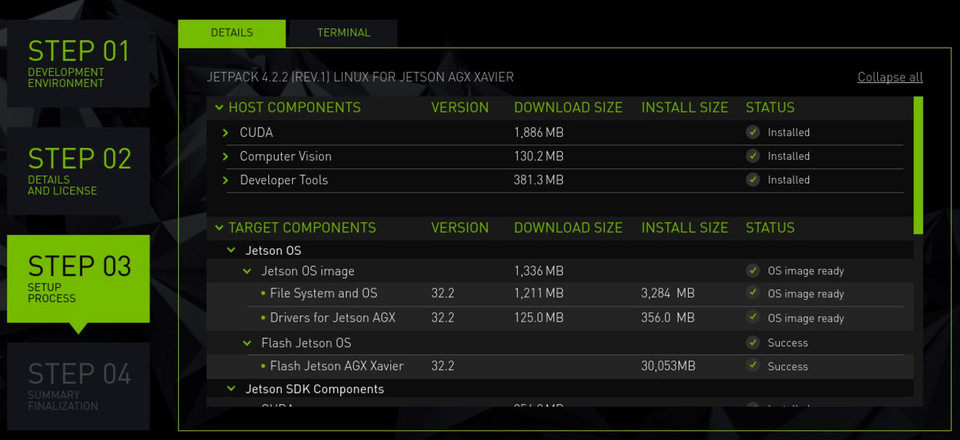
Then we switch back to the SDK Manager window, and click the biggest start button.
Waiting for the Flash Jetson OS step finish.
If the last step succeed without trouble, the Xavier device will be booted into a ubuntu system. Now we can use the connected mouse and keyboard to configure it, set username, password and click next all the way.
The Jetson OS is successfully installed now.
Next the Jetson SDK Manager wants to install SDK Components like CUDA Toolkit, cuDNN, TensorRT, OpenCV, NVIDIA Container Runtime, etc.
It will pop up a dialog asking the IP address and username/password of Xavier developer kit.
Since we are using a Ubuntu host in virual machine, we might get trouble connecting to Xavier via Ethernet over USB. But don't worry, we can connect our Xavier to a router, and configure a LAN address for it. Then we can fill the dialog with ip address and username/password of Xavier, and click next to install SDK Components.
The rest is waiting for installation to finish.